
Hey, welcome to another of my blog posts. My name is Godstime. I will show you straightforward steps for buying a domain name and web hosting from Hostinger.
If you’re planning to start a website, blog, or online business, two things you must get first are a domain name and web hosting. There’s no way around it. Without these two, your website simply cannot exist on the internet.
When I was starting, buying a domain and web hosting felt confusing. There were too many options, strange terms, and technical explanations that didn’t make sense to a beginner. That’s why I decided to write this guide, to explain how to buy a domain name and web hosting from Hostinger, step by step, in the simplest way possible.
This article is written for 100% beginners, and I’ll explain everything as if we’re having a normal conversation.
First, let’s talk a little about Hostinger. Hostinger was founded in Kaunas, Lithuania. Launched in November 2004 originally as Hostinger Media, before rebranding in 2011 as Hostinger, alongside introducing their own in-built control panel called hPanel, and ever since has grown from strength to strength.
What Is a Domain Name? (Quick Recap)
A domain name is the address of your website.
It’s what you type into their browser to visit your site.
Examples:
-
google.com
-
facebook.com
-
firstguide247.com
Instead of remembering long numbers called IP addresses, we use domain names because they’re easy to remember.
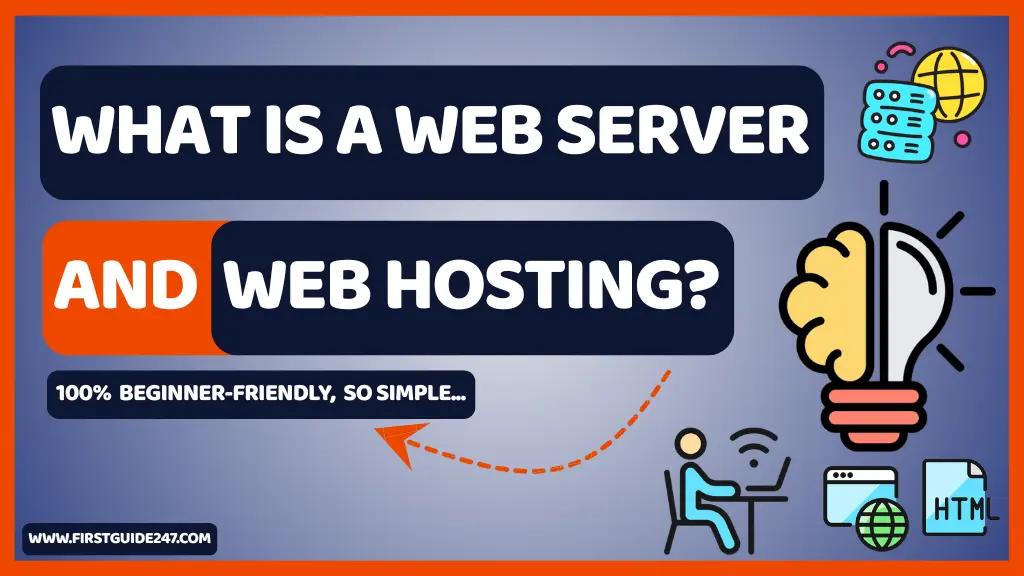
What Is Web Hosting? (Quick Recap)
Web hosting is a service that stores your website files and makes your site available online.
When you buy hosting, you’re basically renting space on a powerful computer (called a server) that stays online 24/7.
Simple way to remember:
-
Domain = website name (address)
-
Hosting = where the website lives
You need both to run a website.
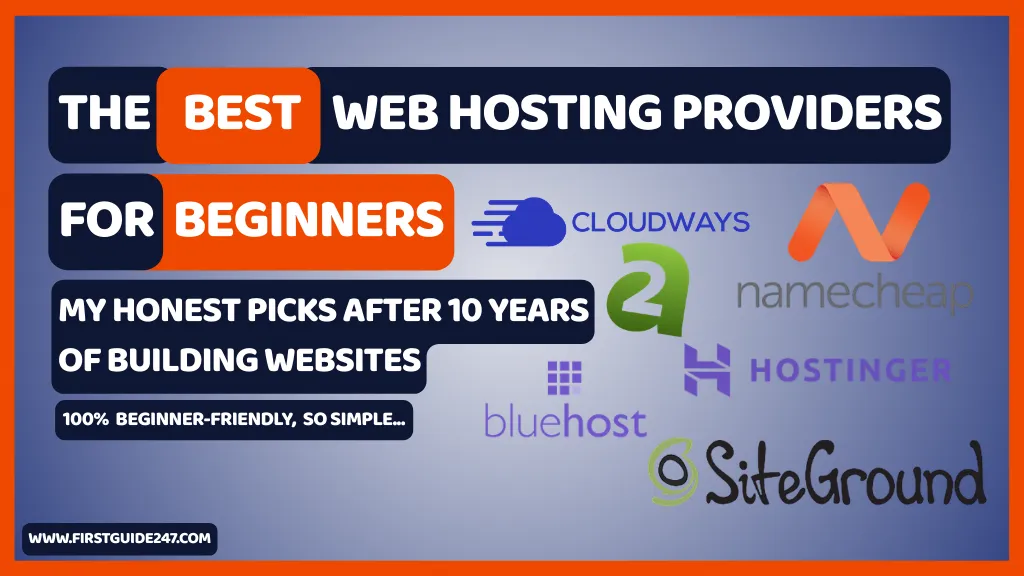
Why I Recommend Hostinger for Beginners
Before I explain how to buy a domain and hosting, let me tell you why I choose Hostinger for the guide and why is beginner-friendly.
From my experience, Hostinger is good because:
-
It’s very affordable for beginners starting a serious business
-
The dashboard is simple
-
Free domain is included in all web hosting plans
-
Very Fast loading servers
-
Good customer support
- Have inbuilt control panel called hPanel that’s very easy to use.
You don’t need technical knowledge to use it.
Things to Decide Before Buying Domain and Hosting
Before you visit Hostinger, take a moment to decide these:
1. Your Website Name
Choose a name that is:
-
Easy to spell
-
Easy to remember
-
Not too long
- Does not contain symbols or long strings of numbers
Example: firstguide247.com
2. Your Website Purpose
Ask yourself:
-
Blog?
-
Business website?
-
Portfolio?
-
Online store?
This helps you choose the right hosting plan. For example if you want to start a blog I will advise you go for the Premium plan, then if it’s for an already establish business, you can go for the Business plan. Then you can upgrade as you go if your online presence grow.
Step-by-Step: How to Buy a Domain Name and Hosting from Hostinger
Now let me walk you through the process in a clear and simple way.
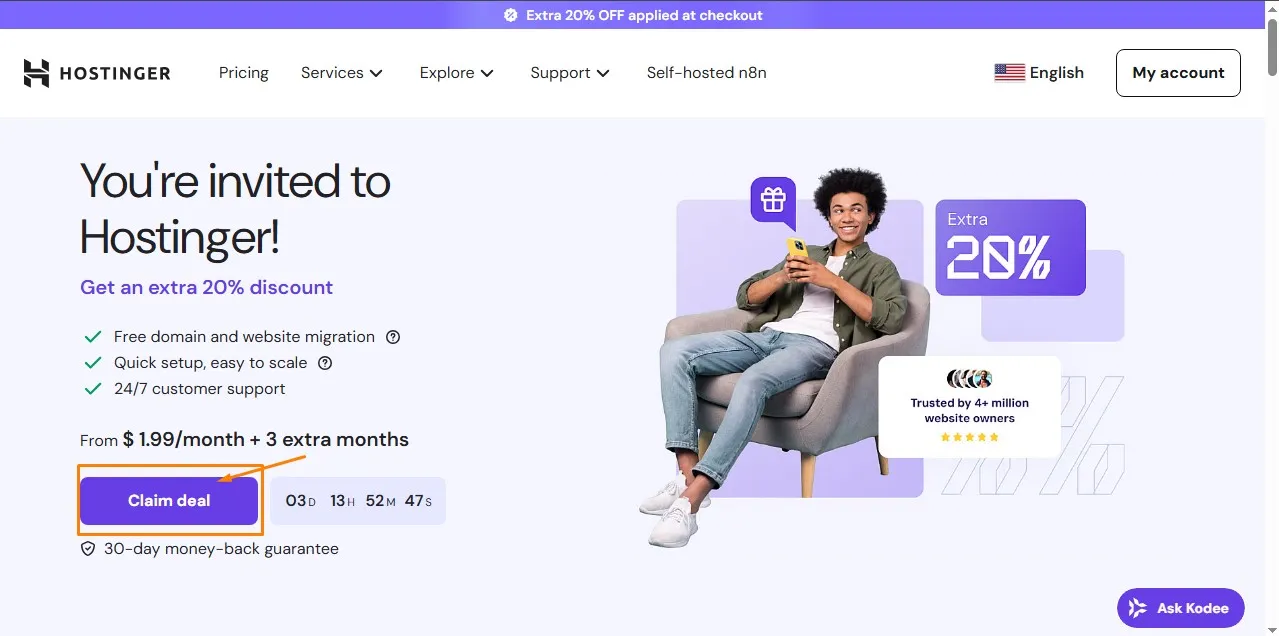
Step 1: Visit the Hostinger Website
Go to Hostinger’s official website and click on claim deal button, to receive the 20% discount when you use my link.
Step 2: Choose a Hosting Plan (Beginner Recommendation)
Hostinger usually offers:
-
Premium Web Hosting
-
Business Web Hosting
-
Cloud Startup Hosting
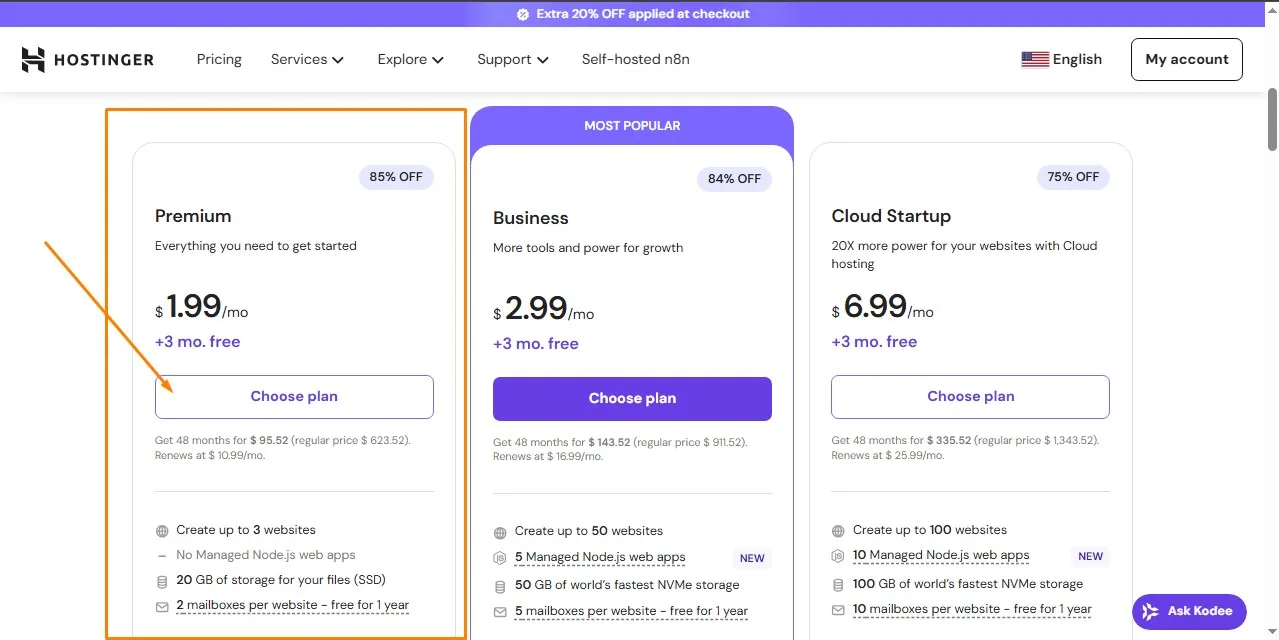
My Advice for Beginners:
Choose Premium Web Hosting.
Why?
-
It usually includes a free domain name
-
Have decent performance for
-
Free mailboxes for 1 year
You’ll see different hosting plans displayed clearly. Choose the premium if you are just starting out. You can always upgrade anytime.
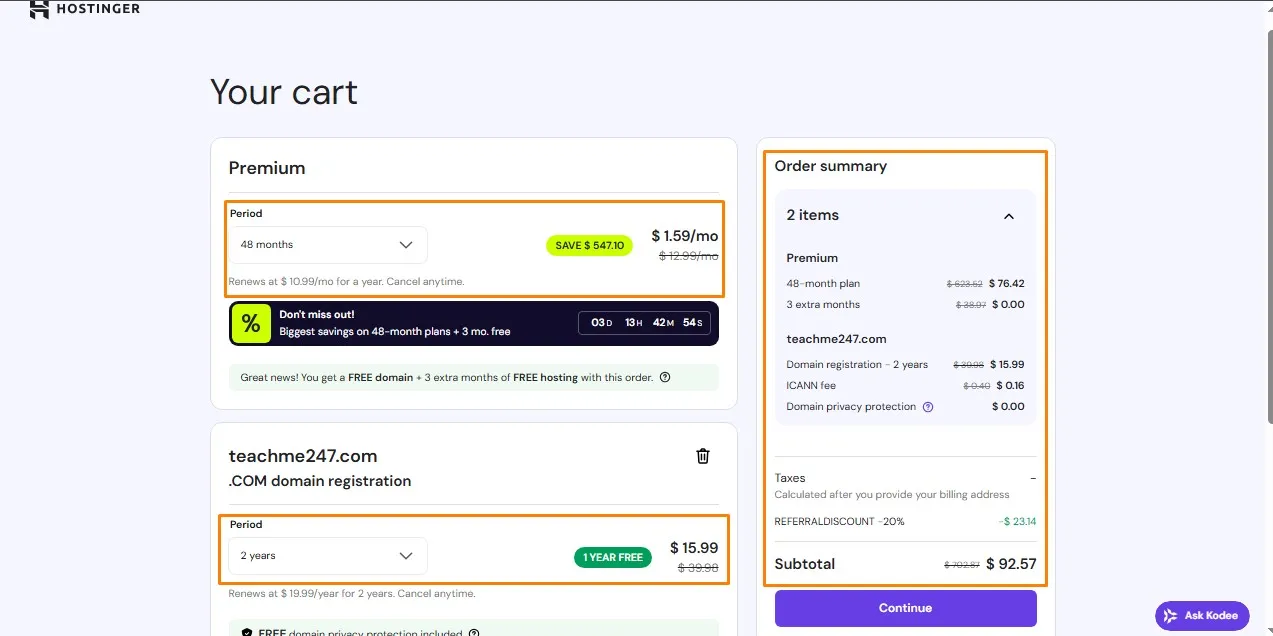
Step 3: Select Your Hosting Duration
Hostinger will ask how long you want to pay for:
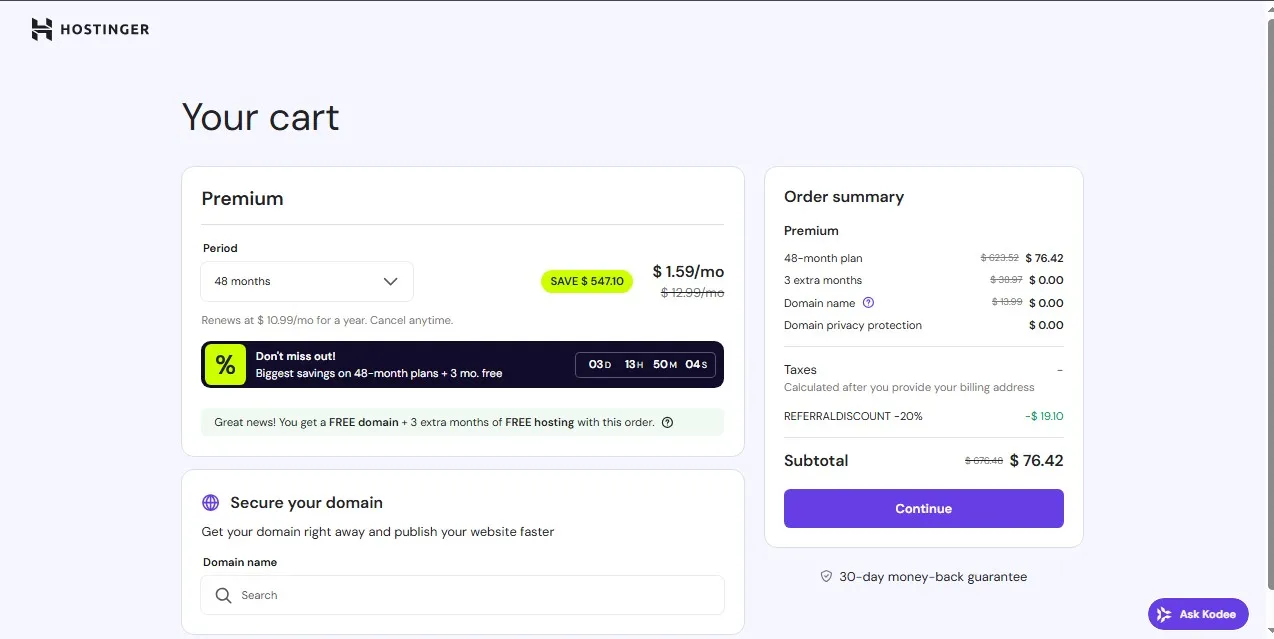
-
1 month
-
12 months
-
24 months
-
48 months
👉 Longer plans are cheaper per month.
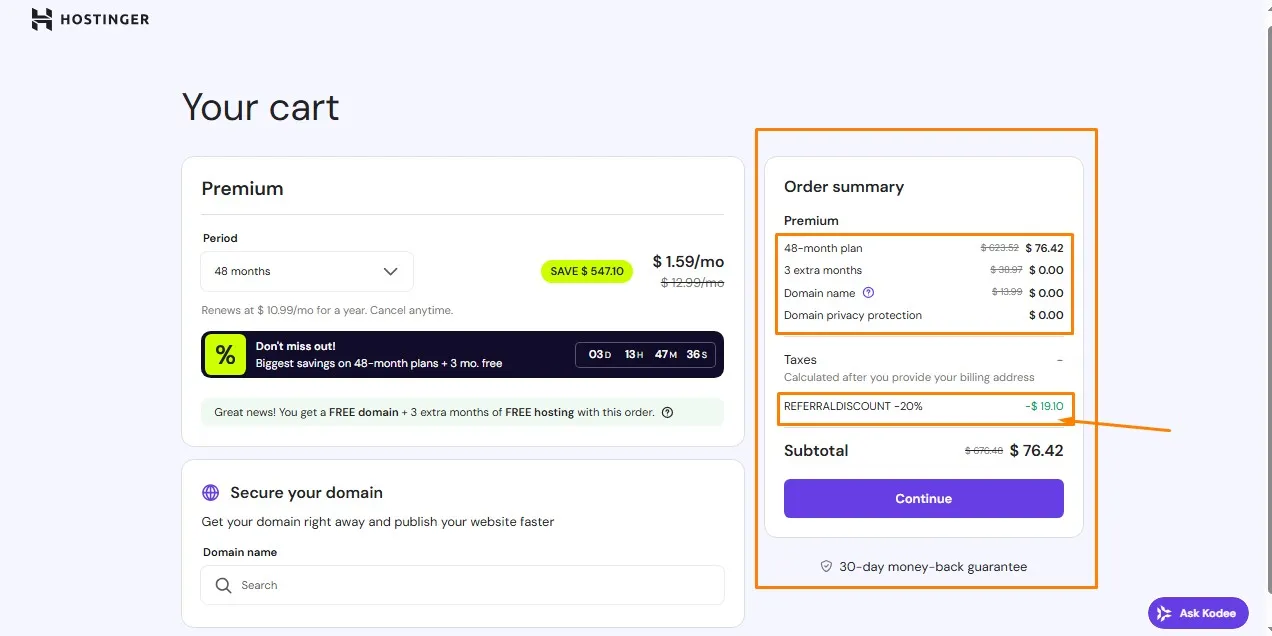
If you’re serious about your website, choosing 12 months or more is cost-effective.
Step 4: Register Your Domain Name
This is where you choose your website name.
You’ll see a search box:
-
Type your desired domain name
-
Click search
Example: teachme247.com
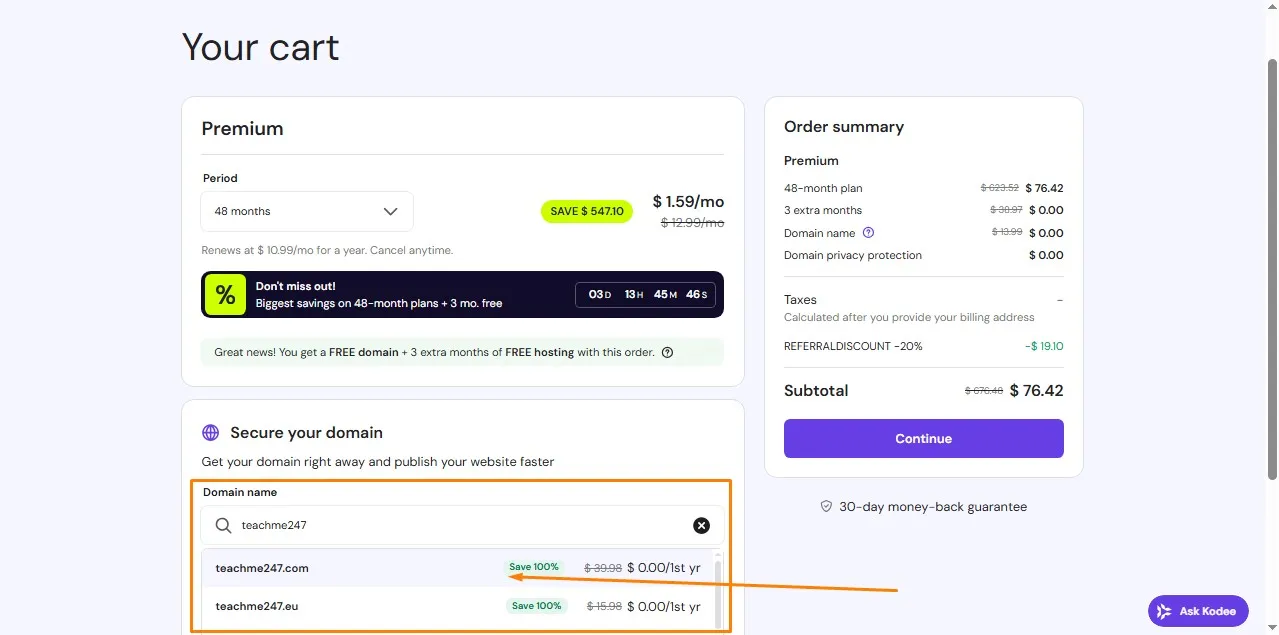
If It’s Available:
You can register it immediately.
If It’s Not Available:
Hostinger will suggest alternatives like:
-
.net
-
.org
-
.online
💡 My tip: If .com is available, go for it.
Step 5: Create Your Hostinger Account
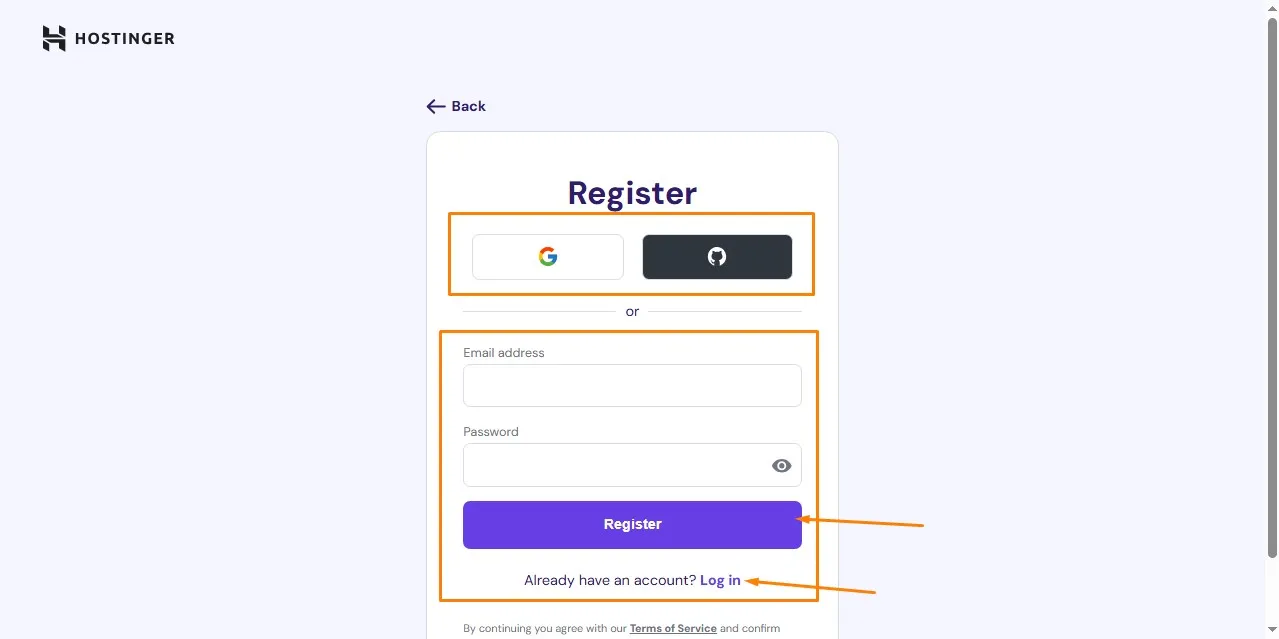
You’ll be asked to create an account using:
-
Email address
-
Google account
This account will be your control center for:
-
Hosting
-
Domain
-
Website management
Step 6: Fill in Your Billing Details
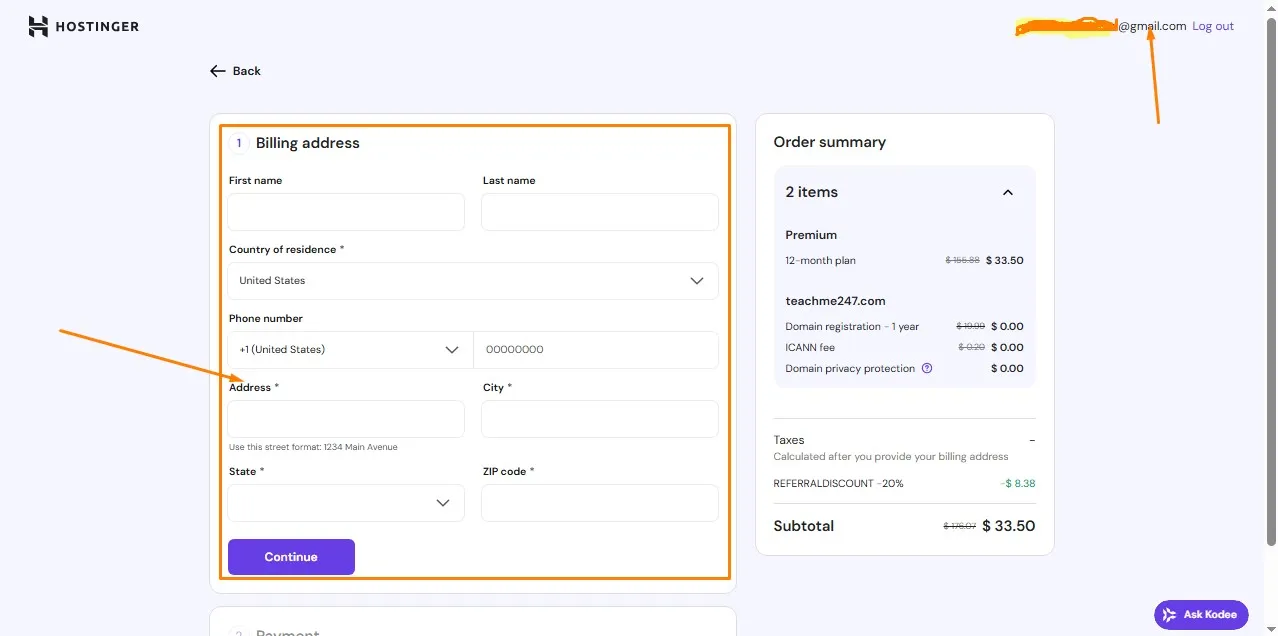
Fill in your billing address details such as:
- Your First & Last Names
- Country of residence
- Phone Number
- Address
- State & City
- and your zip code.
After that you click the continue button
Step 7: Complete Payment
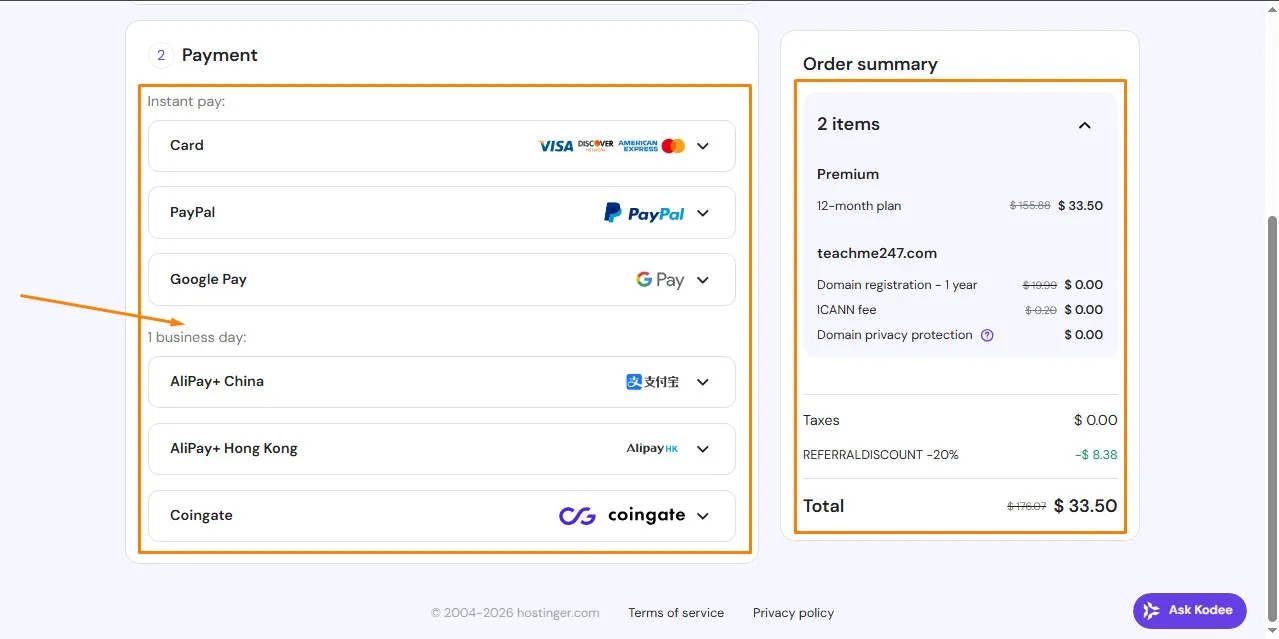
Choose your payment method:
-
Debit card
-
Credit card
-
PayPal (depending on location)
Once payment is successful:
✅ Your hosting is active
✅ Your domain is registered
Congratulations, you now own a website address 🎉
What Happens After Buying Domain and Hosting?
Many beginners ask this question, so let me explain.
After purchase:
-
Your domain is connected to your hosting automatically
-
Hostinger sets up basic server configurations
-
You get access to your hosting dashboard (hPanel)
You don’t need to touch any server settings.
How to Access Your Hosting Dashboard
Hostinger uses a custom control panel called hPanel.
From here, you can:
-
Install WordPress
-
Manage domains
-
Create email accounts
-
Upload files
-
Check website performance
It’s beginner-friendly and clean.
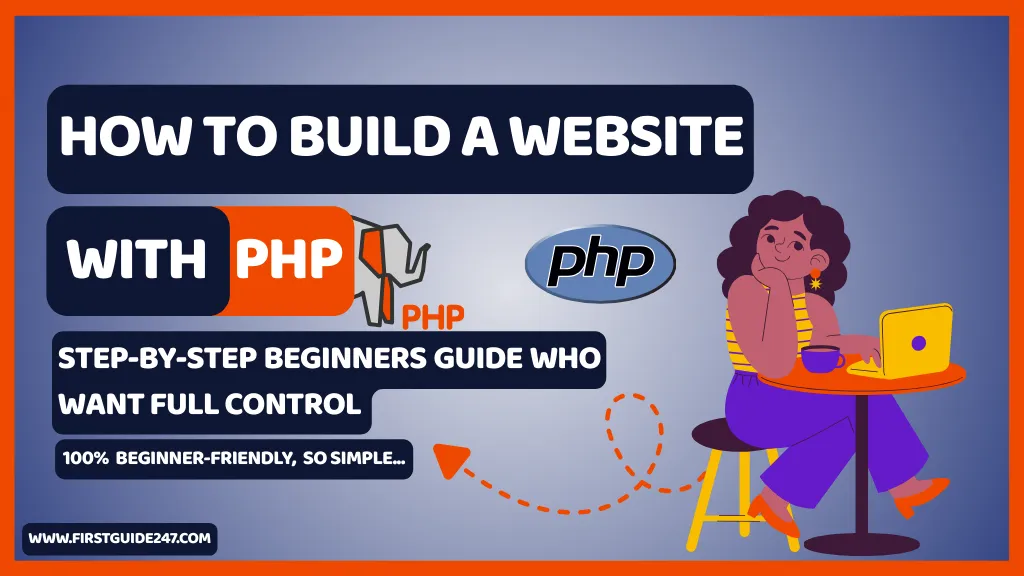
Installing WordPress on Hostinger (Beginner Friendly)
Most beginners want WordPress, especially if they are starting a blog or building an ecommerce website and Hostinger makes it easy.
Steps:
-
Go to hPanel
-
Click Auto Installer
-
Choose WordPress
-
Fill in site details
-
Click install
Within minutes, your website is live.
Free Domain vs Paid Domain on Hostinger
Most Hostinger web hosting plans include a free domain for the first year.
Important things to know:
-
Free domain is valid for 1 year
-
You must renew it yearly
-
Renewal is paid
👉 Always remember to renew your domain to avoid losing it.
Domain Renewal and Hosting Renewal Explained
Domain Renewal
-
Done yearly
-
If not renewed, domain can be lost
Hosting Renewal
-
Depends on your chosen plan duration
-
Website stops working if hosting expires
💡 My advice: Enable auto-renewal.
Common Beginner Mistakes to Avoid
I’ve seen many beginners make these mistakes:
-
Choosing very long domain names
-
Forgetting domain renewal
-
Buying expensive hosting too early
-
Ignoring customer support quality
-
Overthinking technical settings
Keep it simple.
Can You Buy Domain Only from Hostinger?
Yes.
You can:
-
Buy a domain only
-
Buy hosting later
-
Connect domain to another host
But for beginners, buying both together is easier and also cheaper.
Is Hostinger Good for United States and International Users?
Yes.
Hostinger works well for:
-
United States and Nigerian bloggers
-
African businesses
-
International websites
Their servers are optimized globally.
How Secure Is Hostinger?
Hostinger provides:
-
Free SSL certificate
-
Server security
-
Automatic updates
-
Backups (on some plans)
Security is handled for you.
Final Thoughts from Me
Buying a domain name and web hosting doesn’t have to be complicated. Once you understand the basics, it becomes a simple process.
If I had to summarize everything:
-
Choose a simple domain name
-
Use a beginner-friendly host like Hostinger
-
Start with shared hosting
-
Focus on learning and building content
Don’t wait for perfection. Your first website doesn’t need to be perfect, it just needs to exist.
If you have any questions about:
-
Buying a domain
-
Choosing hosting
-
Using Hostinger
-
Or anything related to websites
👉 Drop your questions in the comment section below, and I’ll personally respond and help you out.
We all start somewhere, take your first step today 🚀